Computer archeology: OSF/1 2.0 for DECStation MIPS
I've always had a passion for taking things apart to see how they worked - and with old software running on (virtually) lost hardware this can be fun detective work :)
I played around with both a DEC VAX and a (MIPS based) DECStation a long time ago and wanted to see how well these systems can be emulated and how the OS of their time fare these days. The VAX could run Ultrix, a 4.2BSD based Unix that is allegedly quite buggy but has a collection of pre-compiled Open Source software for download. The DECStation was a much more niche product - it was a bet DEC took on the MIPS ABI but was abandoned in favour of the Alpha chips later on. But there are a few (never truly supported) versions of DEC OSF/1 for which you can find installation images (tapes!) floating around the Internet, for example at https://winworldpc.com/product/dec-osf-1/2x.
gxemul
Based on astr0baby's work on getting Ultrix to run on the DECStation MIPS emulator gxemul and finding a working disk image of a OSF/1 1.0 installation I wanted to get OSF1 2.0 running on gxemul. This was the last release for DECStation and even though it was never a supported product I hoped to find it more feature-complete compared to 1.0.
Gxemul is a pretty cool piece of software, capable of emulating various MIPS, PowerPC, ARM and even Motorola 88k machines (here's a list). It compiles easily for modern x86 or ARM CPUs and runs on macOS, Linux and Windows (and knowing the craftiness of the author, probably also HP-UX and whatnot).
Downloads
I've made the installation media and also disk images for an installed minimal and full installation available for download from my NAS here. If you want to install yourself you'll need everything with "install" in the filename, otherwise go with "root".
For pre-installed images go down to "post-installation setup". The "root" user password is "test123" and should be changed.
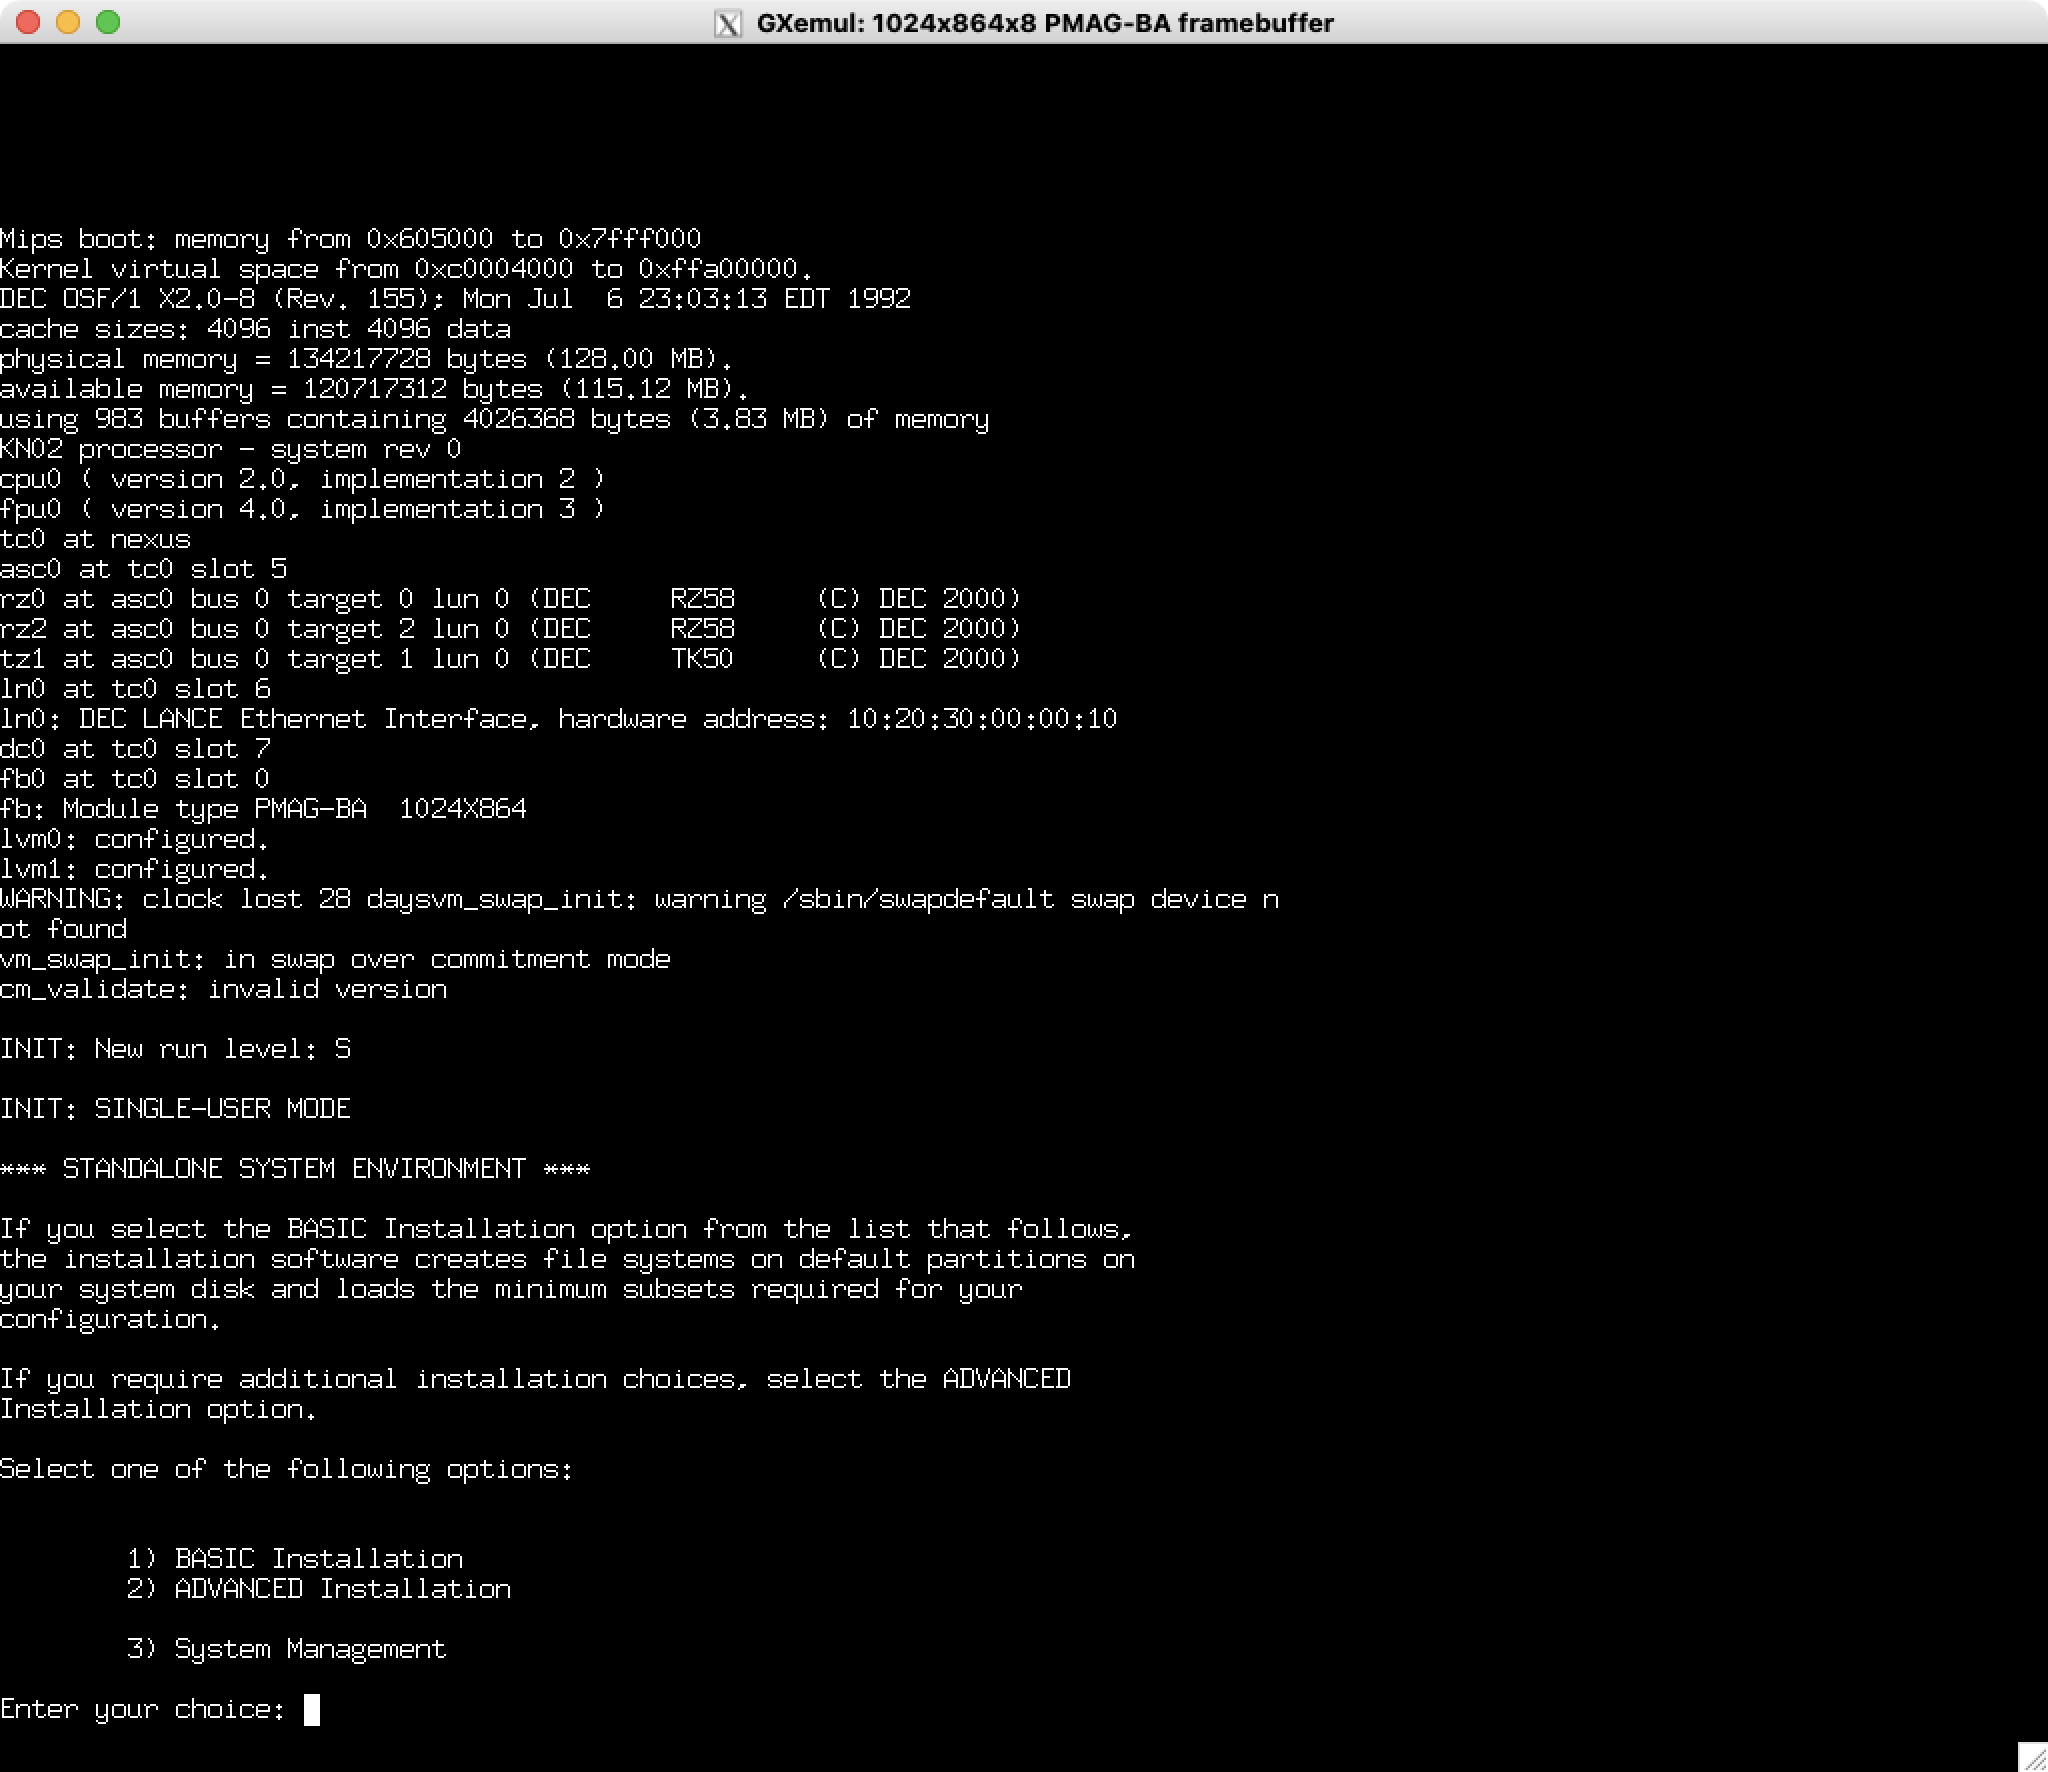
Installation of OSF/1
The tape emulation of gxemul is incomplete and not enough to complete the installation. Instead you need to start the installation, allow it to partition the disk. We start the emulation with ./gxemul -X -e 3max -d osf1-2.0-root-full.img -d bt:BL8_0-Install-tape.img -d BL8_0-root.img -M 128 -j vmunix. The flags have the following meaning:
-X: boot with X11 output for the framebuffer-e 3max: emulating a 3max (DECStation)-d osf1-2.0-root-full.imgemulate a SCSI HDD with this image as first SCSI device - this is where we'll install the miniroot, which is a simple self-contained installation that bootstraps the actual installation itself.-d bt:BL8_0-Install-tape.imgthen a tape (t flag) image from which we boot - that's what the b flag is for-d BL8_0-root.imgthe third hard drive just mounting the root image that we restore)
This will start the installation (select Advanced install) but will fail when trying to restore the tape to the disk.
Then we need to use the restore command to restore the boot image onto the first partition (rz0a) of this disk. We also need the correct device files in /dev:
cd /dev
./MAKEDEV rz2
cd /mnt
restore -r -f /dev/rrz2c
# Create device files for future boot
cd dev
./MAKEDEV rz0
./MAKEDEV rz1
./MAKEDEV rz2
# Copy some files over from install ramdisk:
dd < /tmp/showboot >> /install.log
dd < /tmp/showboot > /mnt/tmp/showboot
dd < /install.log > /mnt/install.log
dd < /FILESYS.log > /mnt/FILESYS.log
dd < /package.dat > /mnt/package.dat
The installation script would then create two files on this partition, which we'll have to create manually. The file /.advflag gets created with
echo 1 0 mips server > /mnt/.advflag
and the file /.minidevice contains information on where to install to and where to read packages from. To install onto rz0 (the first SCSI HDD) and to read from rz1 (second SCSI HDD, here labelled as CDROM) we should this content:
echo RZ58 rz 0 CDROM rz 1 c > /mnt/.minidevice
Finally umount the disk (cd / ; umount /mnt) and kill the emulator.
Package installation
Then start the emulator so that it boots from our bootstrapped install and mounts the package source CDROM image as second HDD via ./gxemul -X -e 3max -d osf1-2.0-root-full.img -d osf1-2.0-opt.img -M 128 -j vmunix (replace vmunix with genvmunix if you're already built a kernel, thanks to the Martin H. for the hint). You should get to the package selection screen:
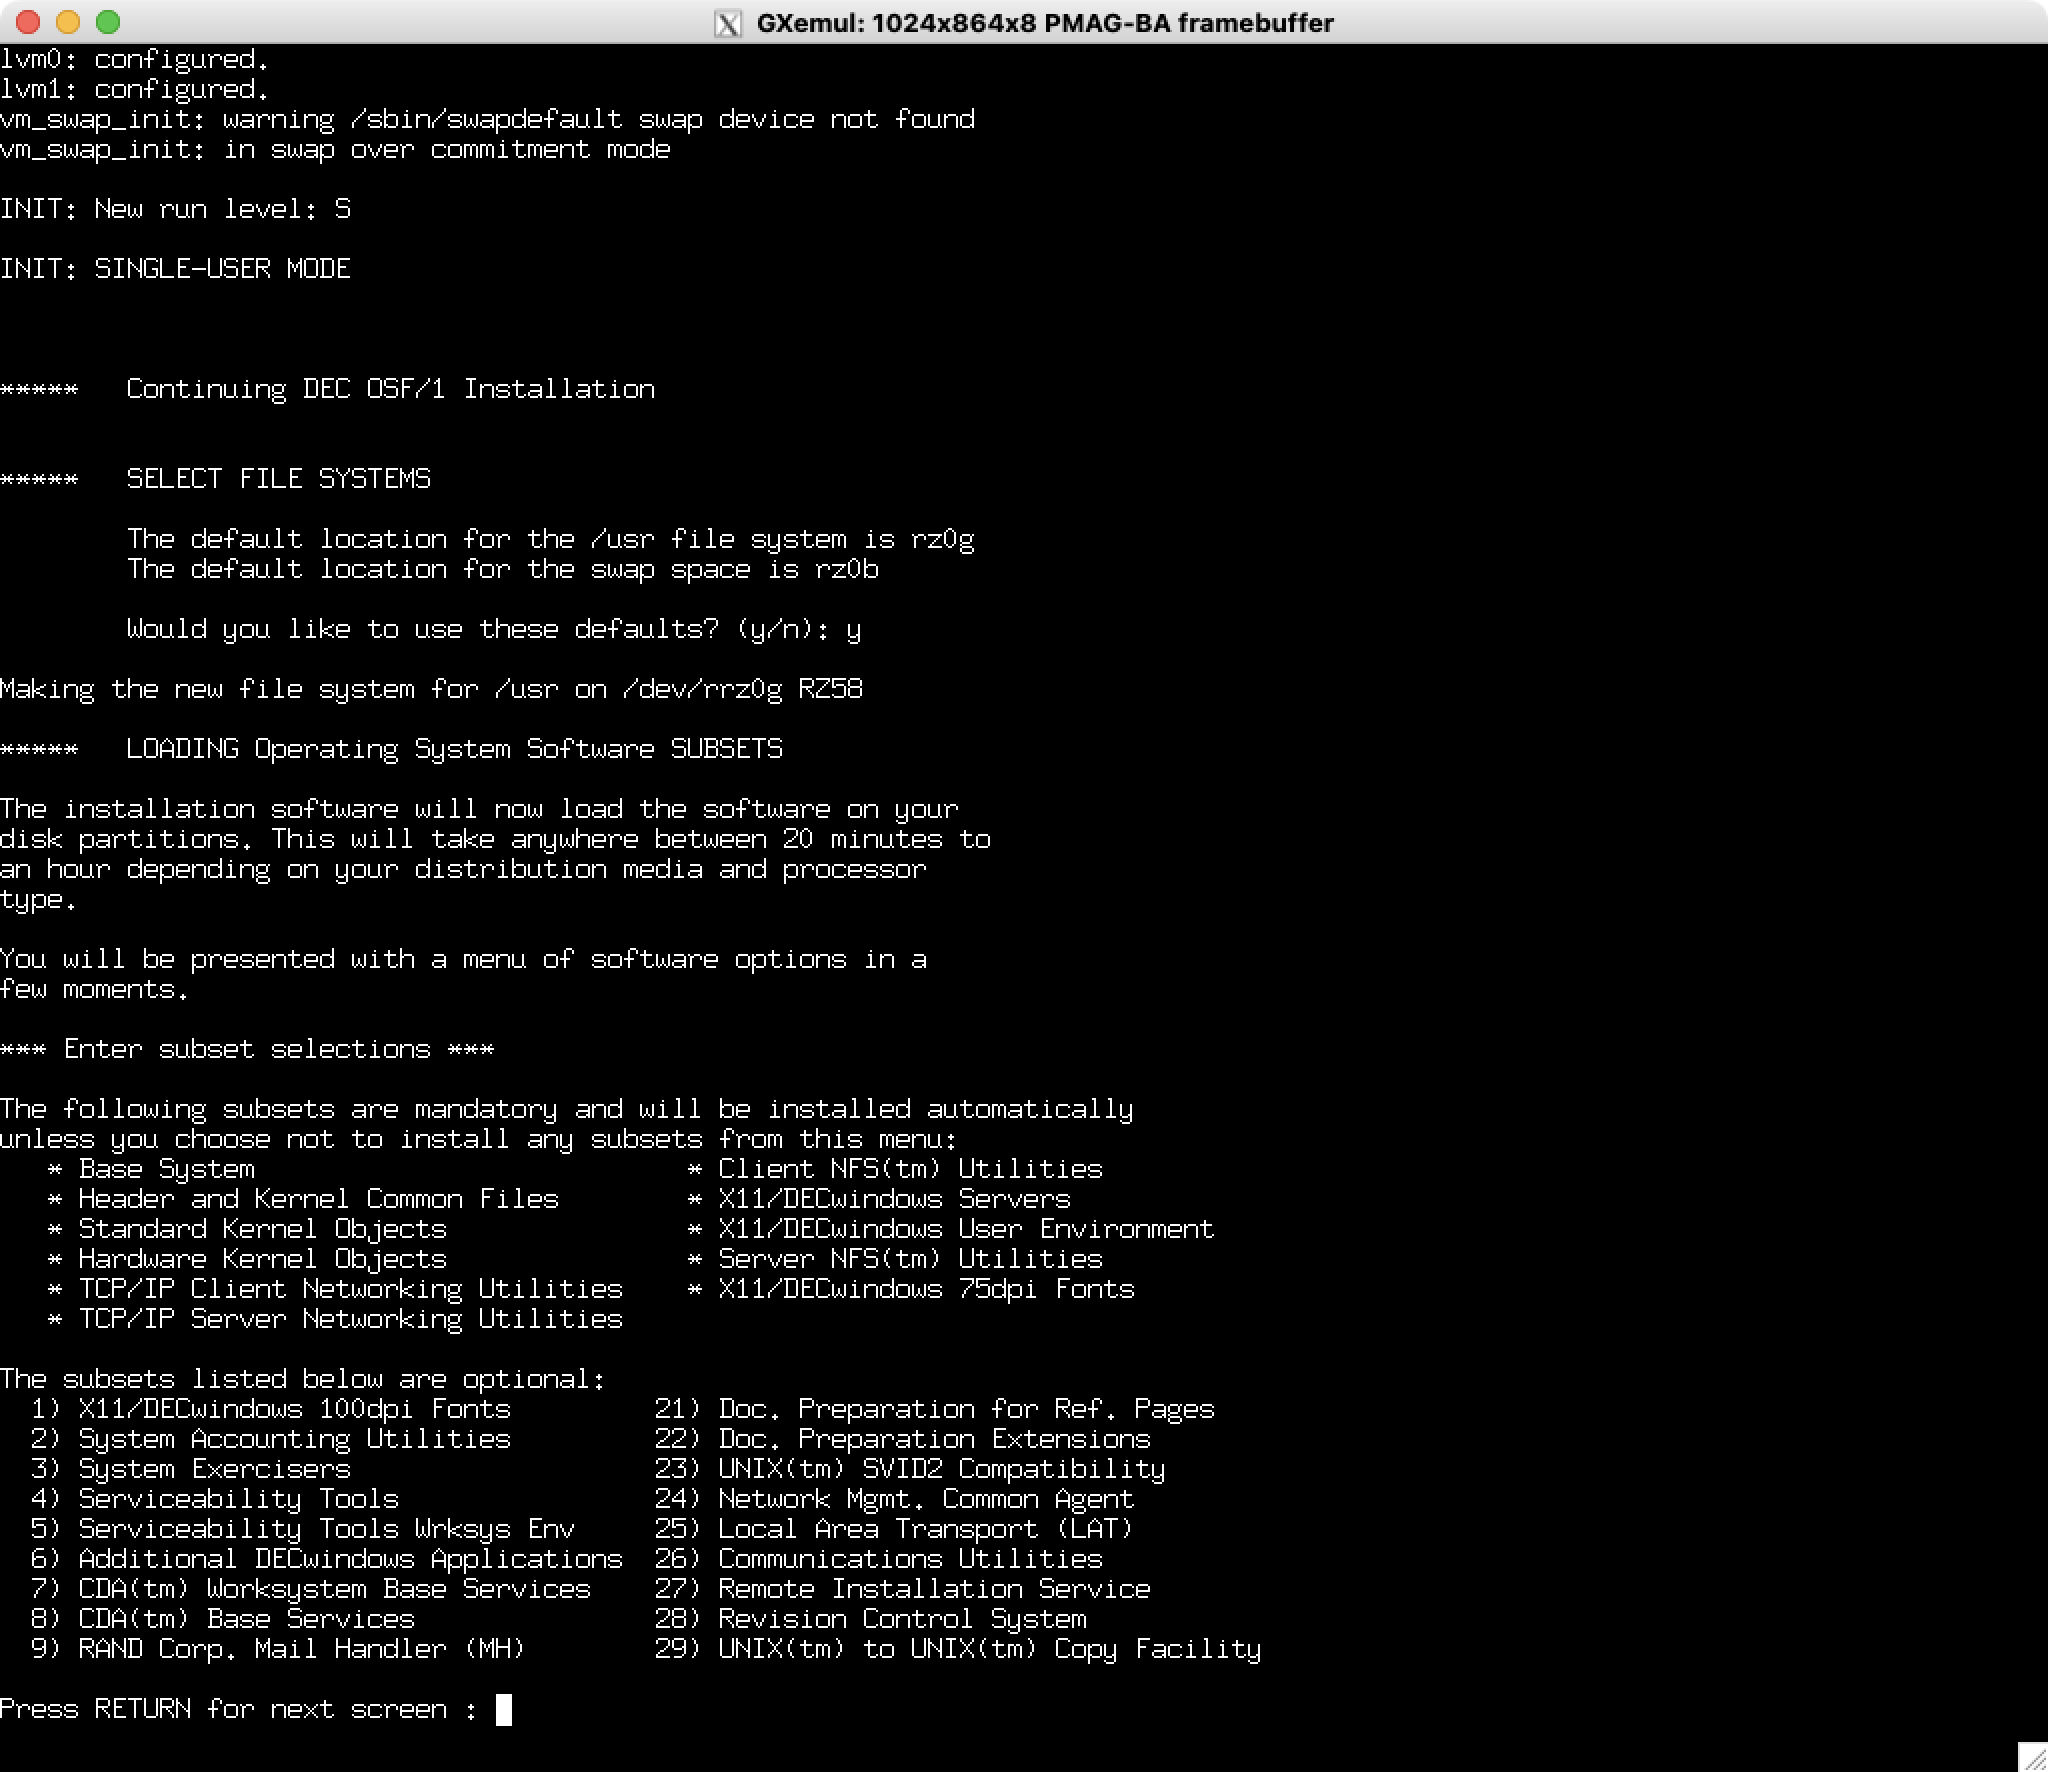
Pick your packages, let it fully install and then reboot and enjoy the system.
Post-installation setup
Network setup is well-described here - in the end it's calling netsetup (modify, IPs, then add static route to 0.0.0.0 via default gateway), bindsetup (set up as client and add an hosts entry for DNS server) and svcsetup (set hosts to resolve via local and dns).
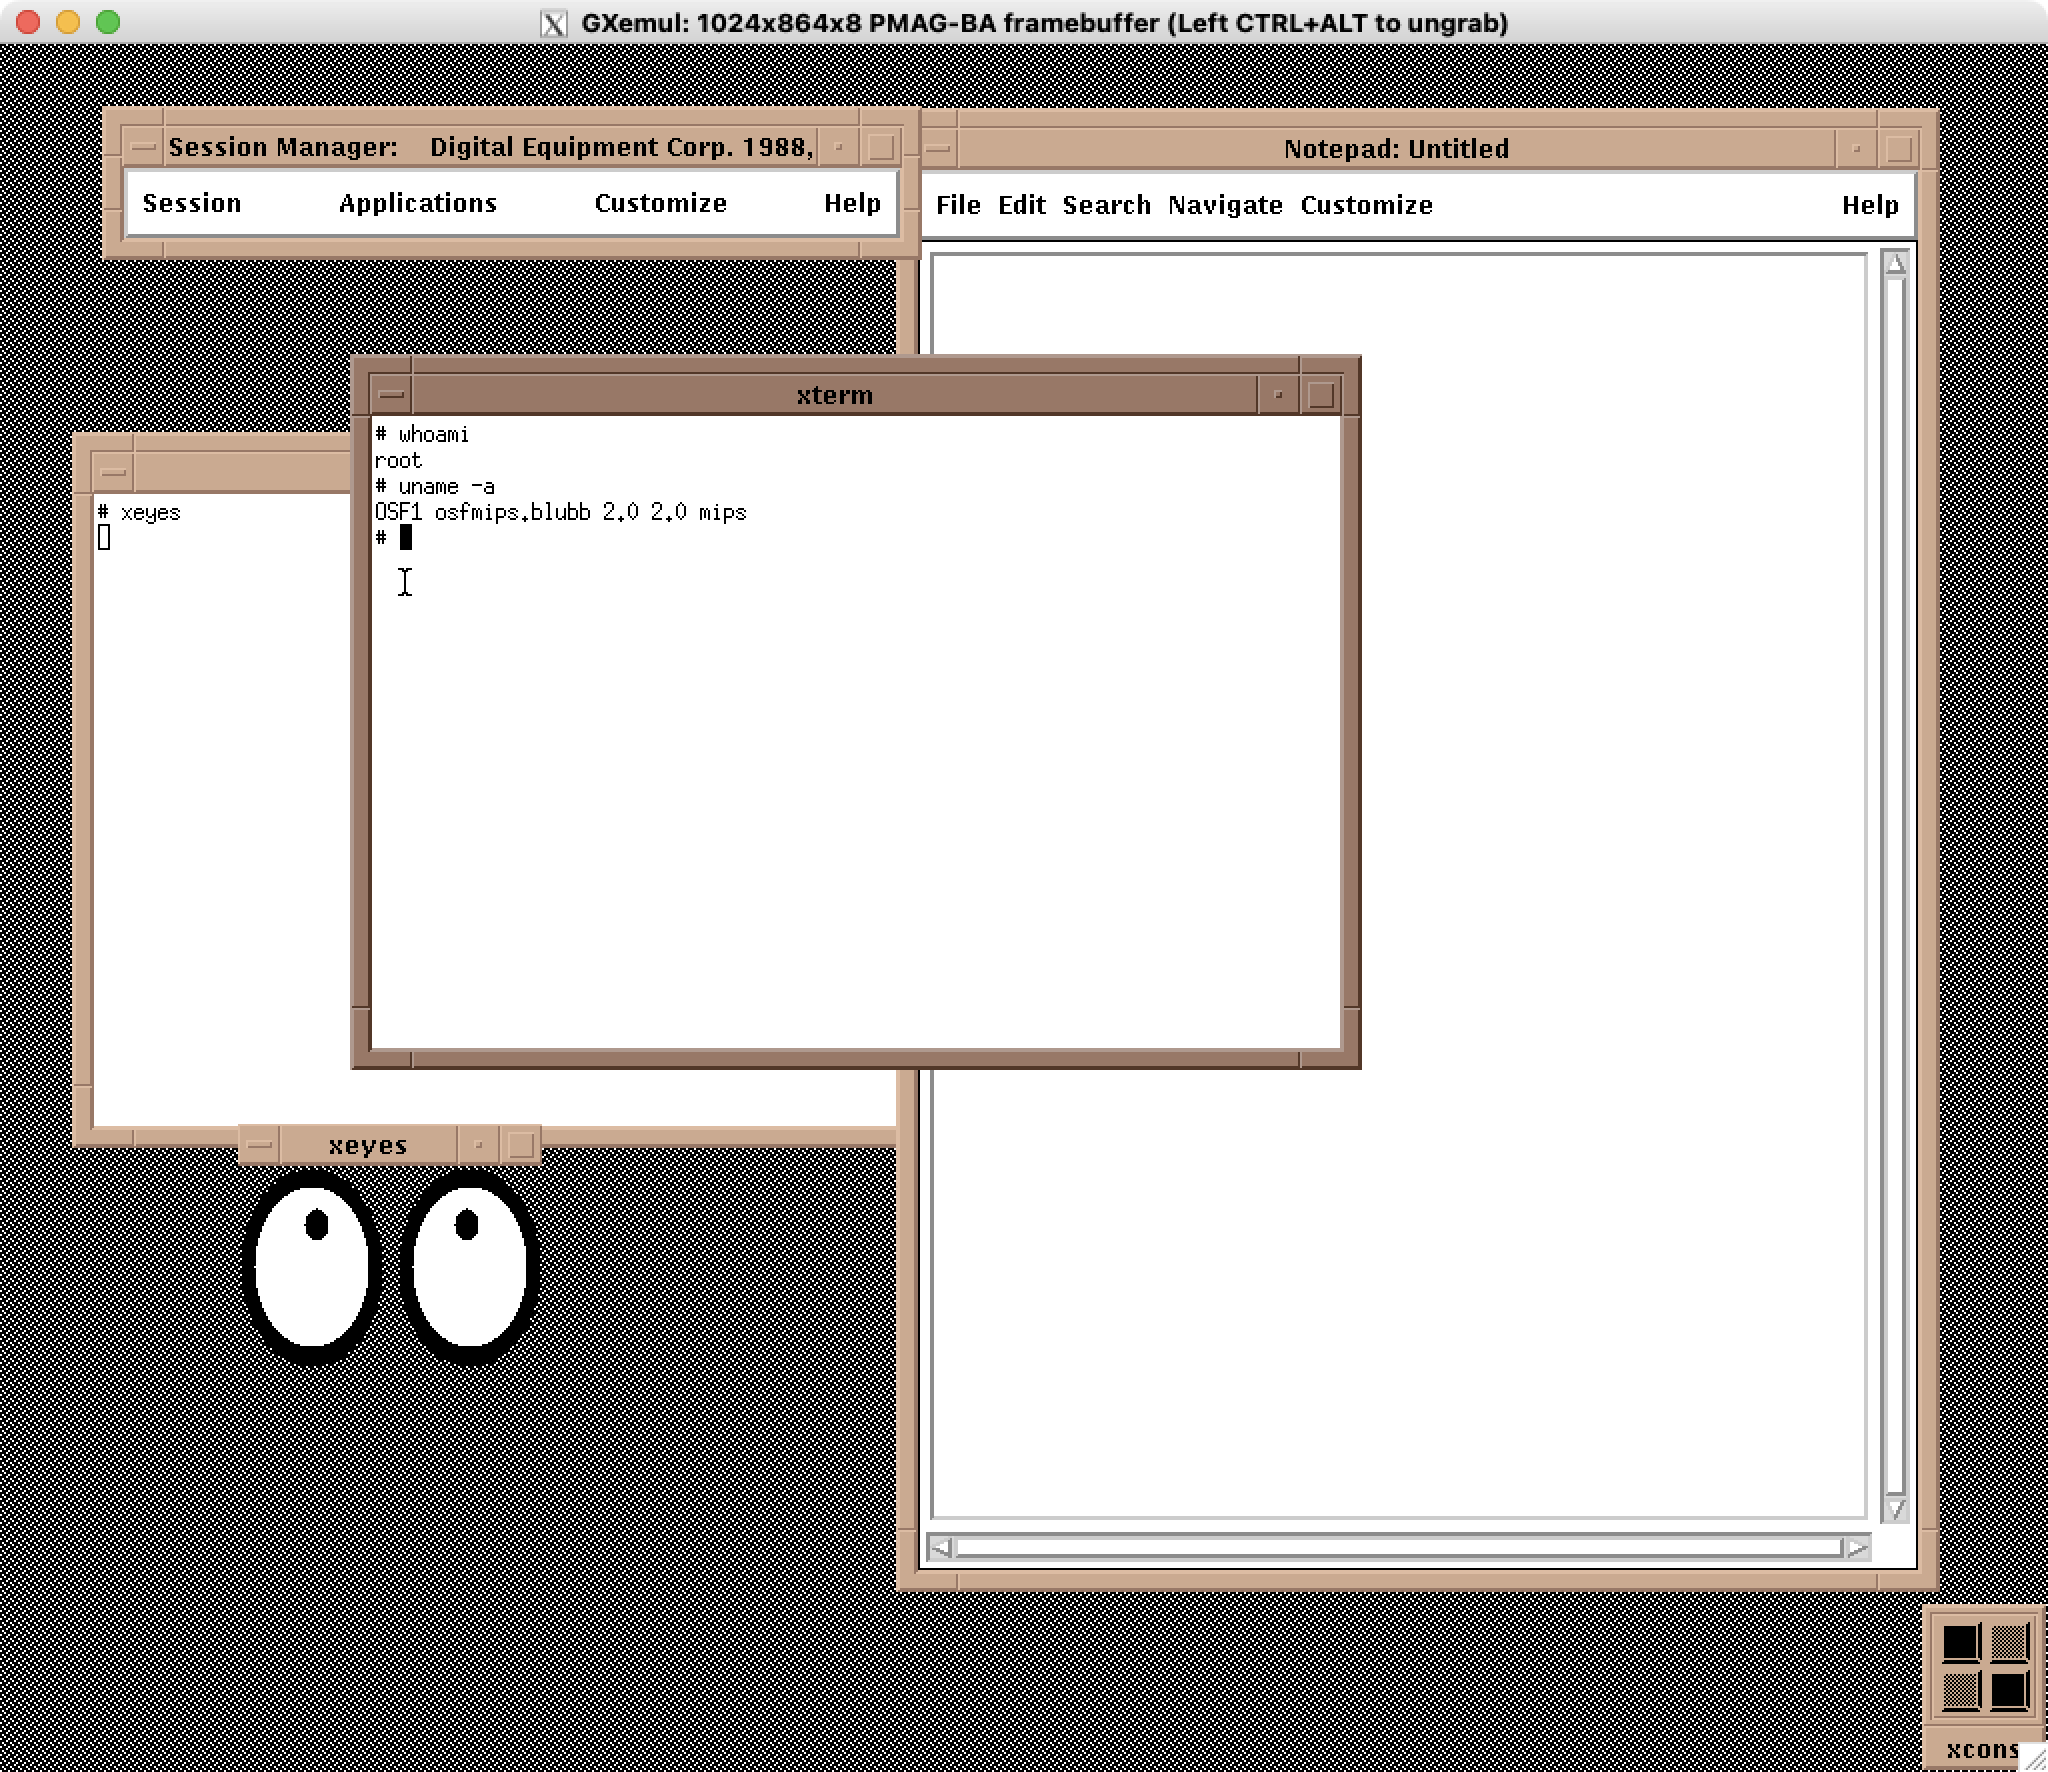
The next steps would be to install some software to make the system more useful. The installed MIPS C compiler is good enough to compile some basic things, and gcc 2.9.5 should compile fine. Apparently binutils is broken, but ld is installed anyway.
A problem is that the system doesn't seem to be overly y2k compatible. You cannot set it to a year after 1999 easily from the command line although using ntpdate works:

Member discussion